During this module, we worked with various tools and techniques to accomplish our tasks and facilitate collaboration. Our first kick-off meeting was held in February using Zoom. Zoom is a video conferencing service with which you can meet and talk with multiple people via video or audio only. All that is needed is a link. Through the Corona Pandemic this tool spread at the university and we got all premium licenses with our university account. Thus, we are very familiar with the tool and the various functions such as chat, screen sharing, recording or reactions facilitate virtual collaboration enormously. We also often use Zoom for our other team meetings because of its uncomplicated operation. The first meeting with the Americans also took place via Zoom, as the tool can also be used without a license, i.e. free of charge.
Similar functions are offered by Microsoft Teams, of which we also have licenses through the university. Teams also offers the possibility of a permanent chat, so the chat does not disappear as soon as the meeting ends, as it does with Zoom. In addition, you can store files and work on them with several people at the same time. This is very practical in a larger group and for documents that need to be edited frequently. We’ve always used Teams to share with Armin and Kathrin and to file documents, and sometimes for video conferencing. For me (Lena), one disadvantage of Teams is that you can only have one account in the version on the PC and therefore always have to log off and log on again as soon as you want to work in another Teams space. In Teams we also used the whiteboard tool to brainstorm what we were going to do with the Americans during the week. This worked very well and it was convenient to have all the information in one place.

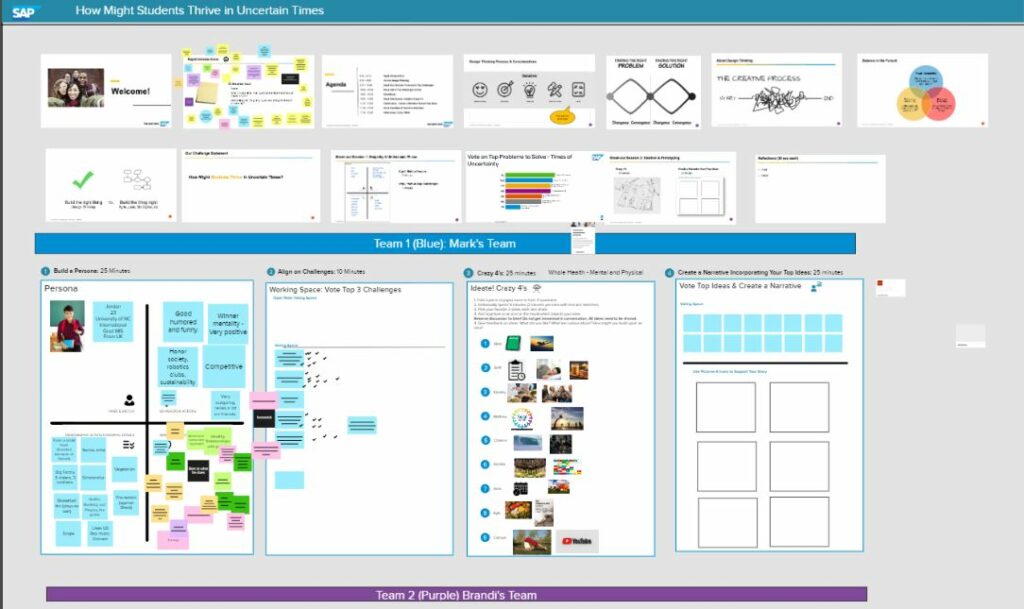
Another tool similar to the whiteboard that we used is Miro. You can collaborate in real time and asynchronously on an infinitely large surface. Post-Its, shapes, pictures, diagrams, and really anything you can think of help. During the week that the Americans were with us, we used Miro a lot to brainstorm and get our ideas together, both in the large group and in the three small groups. Collaboration in Miro is initially free, but if you want to create your own board, you need licenses. Since a few Americans had the licenses, we were able to work with the tool without any problems.
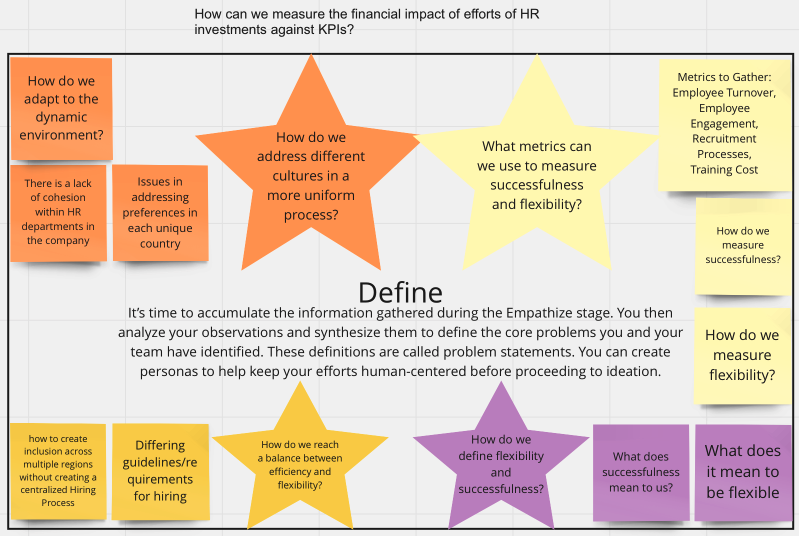
A very similar tool is Mural. It has the same features and offers the same collaboration possibilities, only the controls are a little different. We used the tool for the SAP Design Thinking Workshop, but not again after that. More information about the Design Thinking Workshop can be found in a separate post.
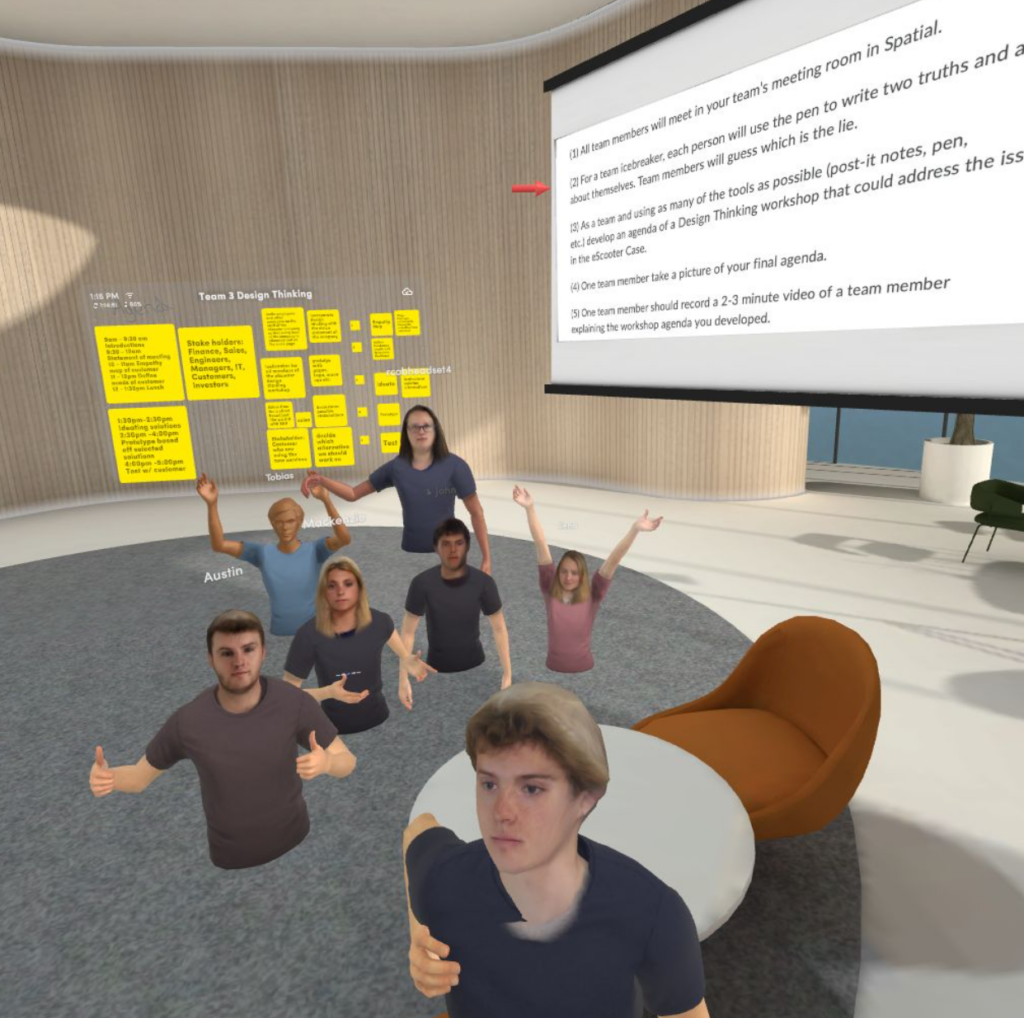
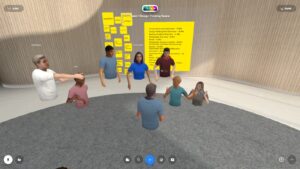
At the beginning of this module we got virtual reality glasses to get to know a new way of virtual collaboration. A detailed report about the experience can also be found in a separate post. To meet there for the group work we use the tool Spacial. Spacial is a metaverse in which you are in a room or area and meet other people and can communicate and collaborate in various ways. You can talk normally, describe and paint post-its, access web pages or images, as well as create, move and edit objects. While it feels like you’re really in a room together, since you don’t see video of the people as you do in video conferencing, it feels a bit more impersonal. However, you can post a photo of yourself as an avatar. All in all, it was a lot of fun to get to know a new way of virtual collaboration.